The Restoration/Custom Build Process
At MPE we take pride in our attention to detail. Whether we are working with you on a single phase of your project or from start to finish, we always recommend the following steps for the restoration/build process. We welcome your project no matter how many of these phases you need assistance with or what phase your project is currently in. Give us a call to discuss how we can assist with your project.
Planning/Design
Evaluate project
Choose complexity of build (stock restoration, modifications, full custom, etc.)
Determine which phase(s) of the project will be completed by MPE
Develop general design/rendering if necessary
Disassemble/Blast/Primer
Disassemble and catalog all parts - make note of parts to replace
Brace body and mount to rotisserie
Wet blast body, all panels, and frame
evaluate after blasting - blasting reveals all damage and rust issues
Primer or pickle all bare metal - this prevents continuous sanding of surface rust which will accumulate on the bare metal
Fabrication/Metal Work/Customization
Mount on frame table or back on chassis to perform any metal work or panel replacement - this ensures proper alignment
Perform all metal work - body should be metal finished and fully gapped at the end of this phase
Minimal body fillers should be necessary
Fabricate and test fit any custom additions - if doing a full custom build we recommend fully assembling and test driving now to avoid issues when complete
If required, electrical system upgrades and/or full custom harnesses will be built and tested
Completely disassemble for body work
Remove body from chassis table/frame and mount to rotisserie then finish underside and back side of body and all panels - including any body sealers, NVH products, and temperature control products
Suspension/Brakes/Drivetrain
Refinish all suspension, brakes, drivetrain assemblies
We prefer to clean and coat parts then assemble them into modules which are easier to keep safe and install
We also always test run the engine on a stand (or dyno if desired) to verify no leaks and proper operation
Reassemble and cover/tape off for body work
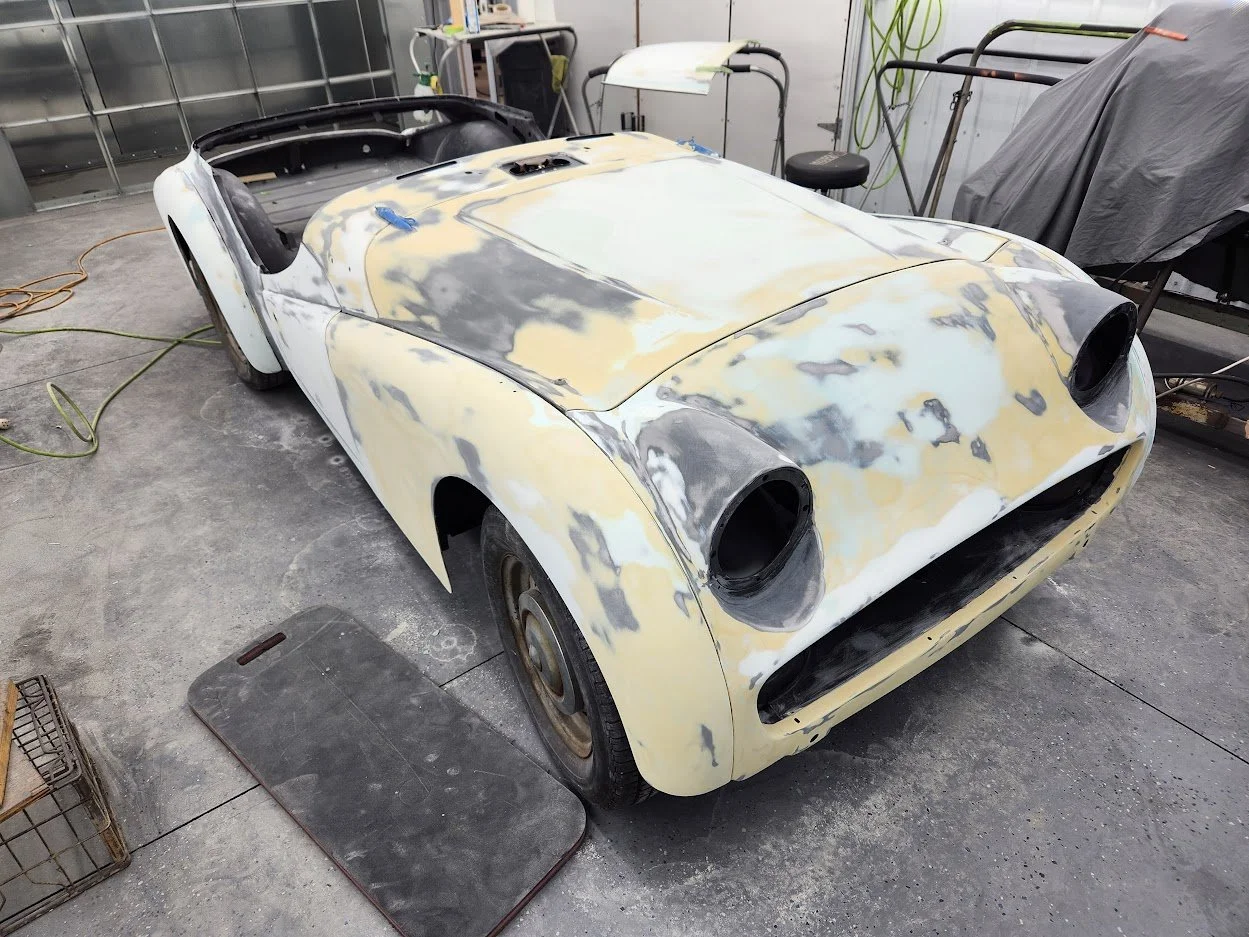
Body Work/Primer/Paint
Epoxy/DTM primer the entire body and all panels
Re-mount to chassis to perform all filler work, build primers, and sealers - this makes sure the body is in the position it will be when fully bolted and assembled
Remove bolt-on panels and perform top coats and initial buffing/polishing - can spray with body on or off chassis depending on rigidity of body and ability to tape and cover any pre-finished surfaces
Reassemble/Trim/Interior
Assemble any parts which are safer and easier with the body/panels off - usually drivetrain and sometimes interior pieces
Can also fill fluids and run the engine while panels are off for easier access and viewing or see next phase
Fully reassemble body and reunite with chassis if necessary - including any remaining pieces such as bumpers, trim, and interior/convertible tops
Engine Test/Break-in/Fine tune
Fill fluids - check for leaks and perform the first engine run if not already done
If the engine needs a custom tune we recommend towing it to tuners before test driving or seriously loading the engine
Begin test drives starting with short drives and rechecking everything then continue with longer drives
If the engine was not pre broken in, usually recommend changing oil @ 500 miles and have it tested to ensure proper operation
If a full vehicle is built in-house we will drive the vehicle between 500 and 1000 miles to work all issues out before delivery to the customer
Final polish and cleaning
Deliver vehicle to customer
Clean/Polish/Deliver
Enjoy the vehicle as often as possible and keep maintenance up to date!


